Quick Navigation
- 1. Using a Lockbox
- 2. Secure your Trail Camera with a Locking Cable
- 3. Get It Out of Reach
- 4. Disguised Trail Camera
- 5. Camouflage Your Trail Camera
- 6. Use Plain Trail Cameras to Avoid Infrared Glow
- 7. Place Them in Areas with Low Traffic
- 8. Use Decoy Cameras
- 9. Acquire Heavy-duty Mounting Hardware
- 10. Mark Your Cameras
- 11. Invest in Real-time Surveillance
- 12. Set Up a Trail Camera Trap
- Wrapping up
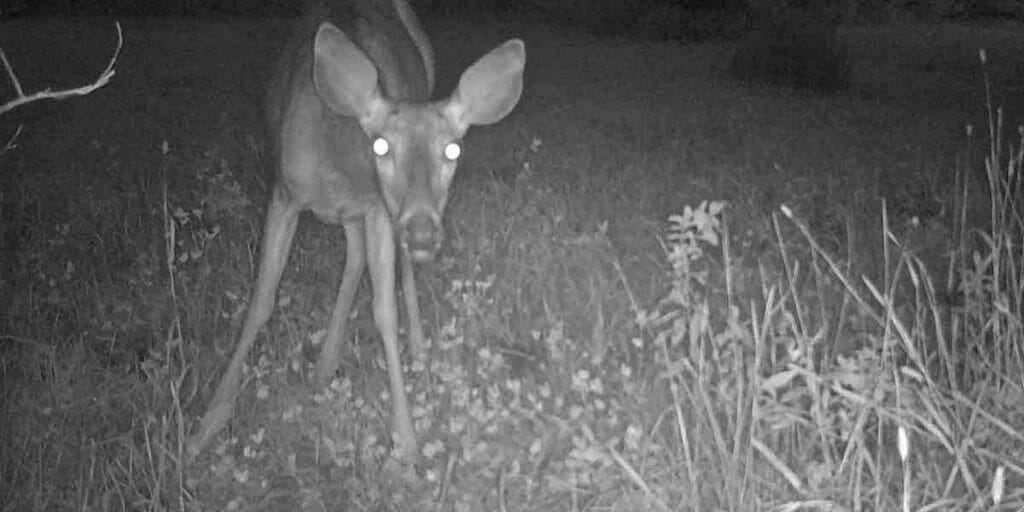
Here in North Dakota where I’m based, we love our hunting, and placing a trail camera is one of my favorite ways to get a good look at the game without scaring it away. However having the forest be so open and public leads to a lot of issues and many times I have found myself cursing out whoever stole my game camera, I would love to blame it on a wild animal but it’s not always the case. Lately, I have found a solution that’s saved me hundreds of dollars in cameras and that’s to lock up my trail camera.
Here we will help you learn how to lock up your game camera with the best locking techniques for game cams. You’ll how to pick a location, what type of lock to use, and more.
1. Using a Lockbox
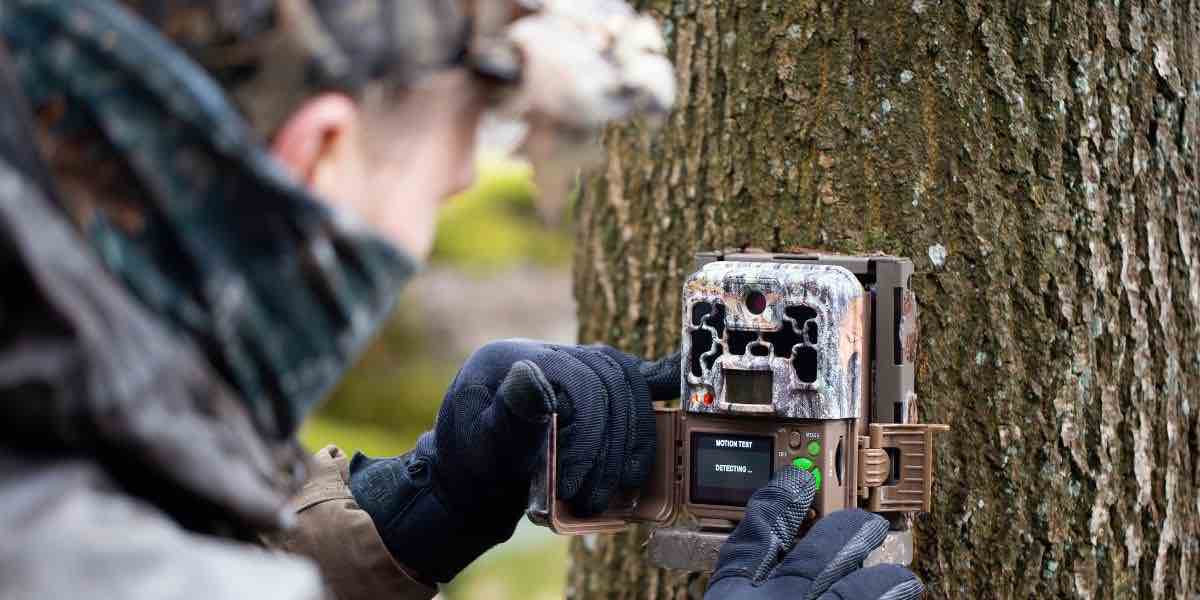
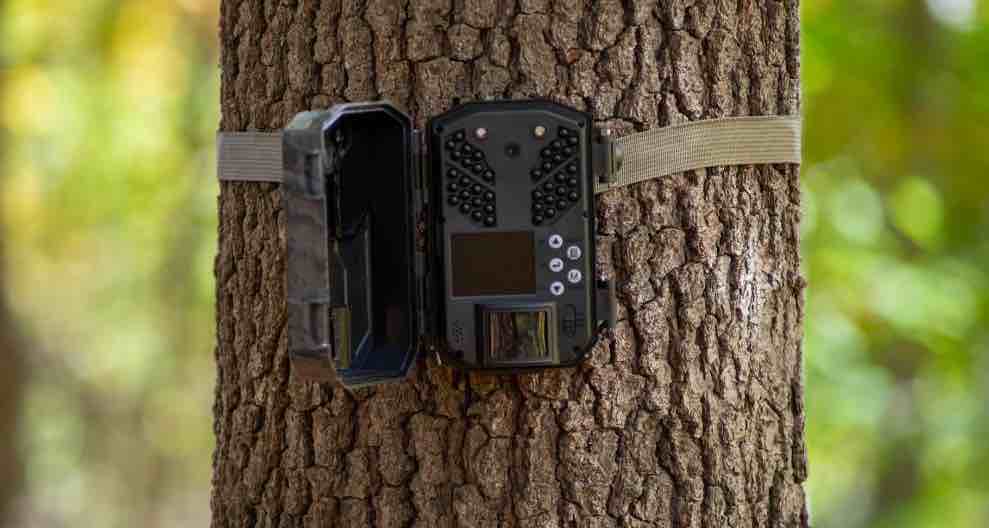
Trail cameras are often left unattended for a couple of hours to capture unsuspecting wildlife and imagery without human interaction. That means someone can intentionally steal your camera during your absence. That is why locking your camera in a lockbox is the perfect solution.
Step 1: Determine where you will place your camera on a tree. Look for the height that is required or which you prefer. Make a small mark if necessary because once your camera is already inside the lockbox, you can’t move it freely.
Step 2: Take off the antenna so you won’t have difficulty installing your camera into a lockbox. Once your camera is in the lockbox, you can’t turn it on. So it would be best if you turn it on first before you mount it in the lockbox.
Step 3: As you mount your camera into the backside of the lockbox, take your cable with you. I highly recommend using a python cable lock for better security. You should run your cable through the top and side of the camera.
Step 4: Put the front cover of the lockbox on, as well as the other pieces.
Step 5: Now you should put an additional lock on the bottom of the lockbox.
Step 6: You will find a strap with the lockbox once you purchase one. It will be a big help if you take the strap and put it on the back of the lockbox.
Step 7: Before you put your camera in a tree, remember that you should mount your antenna first. It will be difficult for you to put it back when your camera is already on a tree.
Step 8: Check your camera if it’s already turned on and working. Then tie it up nice and tight to a tree using the strap provided.
Suppose your camera is not at the proper angle. A helpful tip for you is to use a piece of wood and place it right behind the case. This way, you can point your camera at the right angle.
Step 9: Finally, wrap your Python cable around the tree. Make it as tight as possible and lock it up. This should make your camera locked and secured inside a lockbox.
See the video below;
2. Secure your Trail Camera with a Locking Cable
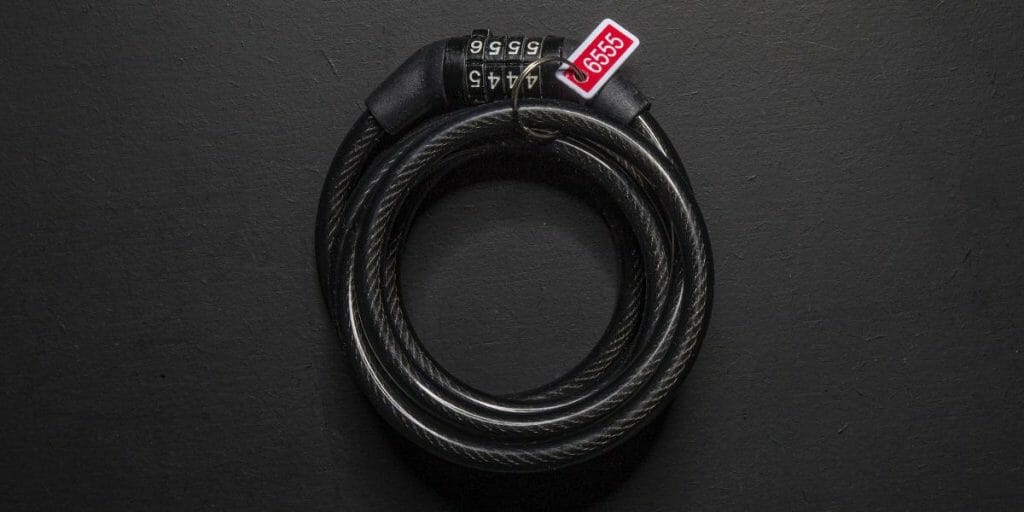
If you think a camera lockbox is not your option because it limits the ability of the camera lens to capture, you can still leave them bare (without a lockbox). You can secure your cameras with python locks instead.
A Python or cable-style lock has the advantage of being more flexible and shape to the tree regardless of shape than a chain lock. They also make it more challenging to fit cutters or other equipment around the cable since they clamp the camera tighter to the tree for a more solid hold.
The trick to successfully utilizing these types of cables is to tie the cord as tight to the tree as possible, making it difficult for anyone with a pair of bolt cutters to cut together all way around the 5/16″ cable.
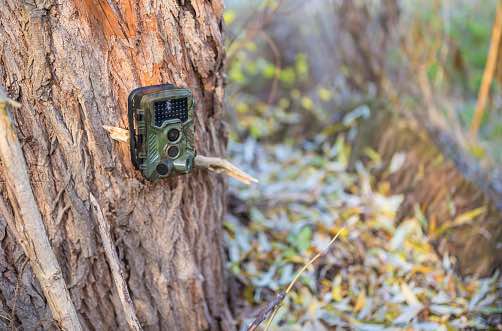
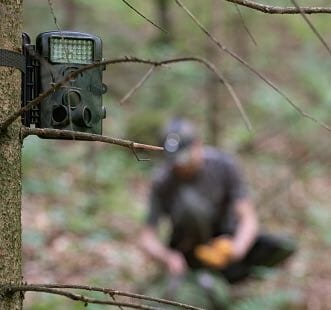
3. Get It Out of Reach
Aside from locking your camera with some boxes or python cable, you can also make sure to leave them in areas ordinary people cannot reach or see. Therefore, they are less noticeable.
The recommended height is 15 feet from the ground is about as high as you need to be to keep most opportunists away from your camera. Placing your camera on an elevated area protects your camera and gives you a good angle of capture.
However, bringing a heavy ladder with you in the woods to install cameras in high places may be inconvenient. The best solution to this is to use what is already in the wild. Climbing up a tree or some branches is a good alternative.
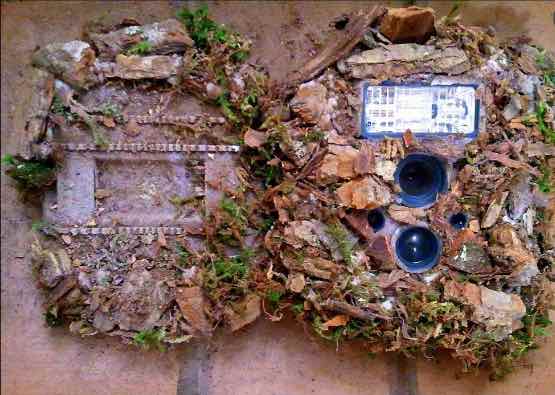
4. Disguised Trail Camera
It’s an excellent way to hide your camera by mounting it inside something else. For example, if you want to install a security camera in your yard, a bird feeder is a place to hide it. Putting the trail camera inside a feeder that appears to have been there for a while could be highly successful.
Another alternative is to conceal the camera within a fake rock or a tree stump. Use the natural environment to your advantage. Remember that you should place your trail camera is a good, unobstructed view of the area you wish to watch.
A nesting box is a great human-made disguise. Naturalists and scientists frequently plant these boxes in remote regions to track local animals, which is why a nesting box could be the ideal location for your trail camera to be installed and hidden. (1, 2)
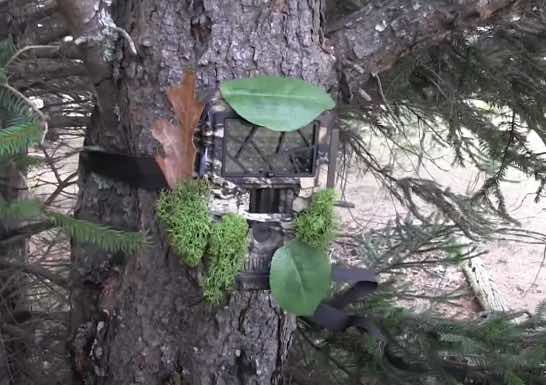
5. Camouflage Your Trail Camera
People can’t steal your trail camera if they do not notice it. This method is pretty effective, but it is not a hundred percent foolproof.
You may buy plastic leaves, moss, and other kinds of materials in the market. Stick these kinds of things into your trail camera and mount it to the wood, where it is incredibly camouflaged.
People usually look for the trail camera straps instead; you may invest in a trail camera strap with a camouflage pattern and details.
However, the plastic leaves, moss, materials, and even the camouflage trail camera strap will not be effective if you put your camera in the wrong place. When you consider looking for the right place to mount your camera. You may set your trail camera behind a tree or somewhere it can be well hidden.
6. Use Plain Trail Cameras to Avoid Infrared Glow
LED flash is a feature that all of the cameras have to take a better shot at night. Unfortunately, the presence of a camera is evident from the flash. Though cameras are hard to pinpoint at night, someone who has been monitoring the area may identify a trail camera installed. And the dark can help them better locate the cameras with the flashy lights.
Many cameras are available in the market that takes photographs in the infrared band at night and do not emit a glow that animals can see. However, as an advantage, they are unlikely to be seen at night.
7. Place Them in Areas with Low Traffic
Find a location off the beaten path that is hard to get to. You may look for a section of thorns or cactus that is extremely tough to access, making it very unlikely to spot your trail cameras. Making it tough to reach your trail camera may prevent thieves or vandals from getting it.
8. Use Decoy Cameras
Stephen Stockman of Whitetail Properties in Missouri has had success in the past with deterring robbers by setting up a non-functioning trail camera in the open and then using a working trail camera to film any movement around the “decoy camera.”
If you’re worried about someone stealing or damaging your camera, consider putting in a decoy. Put the real camera in a strategic position so that you could capture the faces of the thieves.
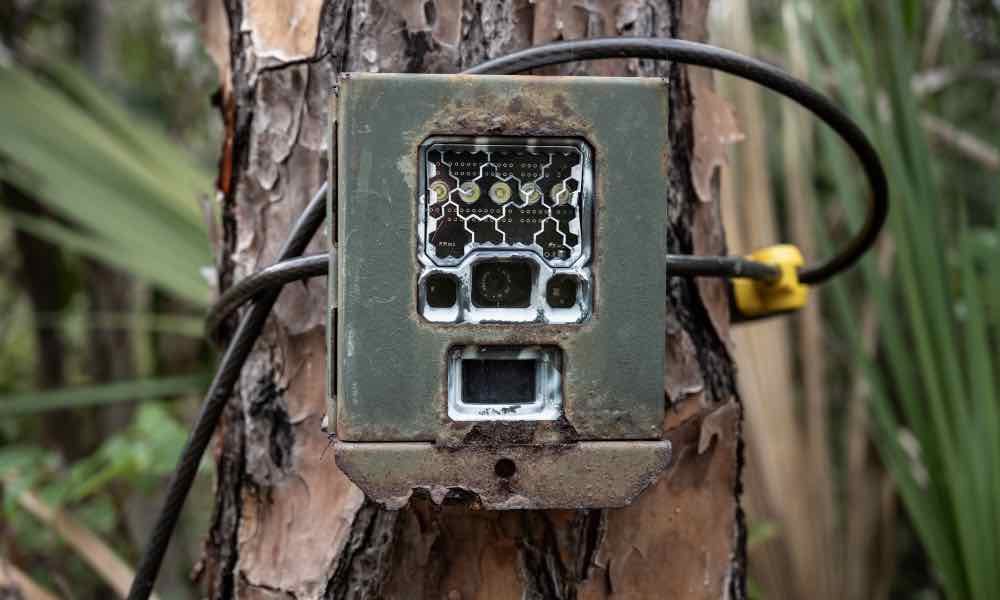
9. Acquire Heavy-duty Mounting Hardware
Trail cameras always come with some accessories. However, they are not enough to protect your device when left alone in the wild. That is why a better solution is to buy and install heavy-duty mounts. What it does is that even if someone notices the camera, they will have a hard time removing them. And up to the point of giving up because they expose themselves too much.
Many manufacturers produce trail camera mounting boxes that are extremely hard to break or detach. This camera’s reinforced casing also protects it from more than just hail and wayward branches.
To remove the camera, a robber would need to bring special tools. This will be a great advantage because a trespasser is unlikely to have the tools necessary to remove solid protection.
10. Mark Your Cameras
Putting your name and contact information on your gear may seem insignificant, but it might mean the difference between retaining it and losing it forever.
Mark Kenyon, host of the Wired to Hunt Podcast and founder of Meat Eater Inc., has been labeling his trail cameras for years, and it has proved successful.
You can write your name and phone number into the plastic camera body with a knife or screwdriver in the hopes that if someone stumbled across it or came into sight of it, they would return it instead of keeping it. Also, most people don’t want to go through the hassle of scraping off engraved carvings, it’s just too much effort for too little return.
11. Invest in Real-time Surveillance
The popularity of cellular cameras, which can send trail camera images immediately to your phone via a data plan, is growing by leaps and bounds. It may be addictive to keep track of which deer use your hunting area regularly and when new deer appear.
These cameras can record and send in real-time allowing you to catch a thieve in the act.
However, this might be an excellent method, but the additional expense of your data plan, as well as the wireless cameras themselves, is unquestionably more expensive.
12. Set Up a Trail Camera Trap
If your trail cameras are being taken on a regular basis, one of the better solutions is to capture the thief in the act. Another trail camera can be placed high in the air and pointed directly at your first camera.
Make sure you’re using a no-glow camera for monitoring so that it’s not visible. More extended video settings often can give you a better chance of looking at a picture of the thief’s face when they turn around. Nothing would be more irritating than taking eight images of the back of his head, only to find him gone, together with your camera, with your following sequence of images.
Even if you recognize whoever the thief is, make sure you show the photos to your local game warden. They are trained to deal with these kinds of circumstances. If you don’t know the robber, the game warden might know many of the violators by name and will have been seeking information that they did not have before.
Wrapping up
Overall this is not a topic you get into lightly because a lot of the time most people come to learn about this is that they have already had a camera disappear on them. No one wants to be the victim of theft by it may be inevitable and it’s best to take protective measures before something like this happens. With our different steps, we hope you have learned how to lock up your trail camera and if you have any questions feel free to ask.
References
(1) Naturalists – https://www.britannica.com/topic/naturalism-philosophy
(2) scientists – https://www.discovermagazine.com/the-sciences/the-10-greatest-scientists-of-all-time