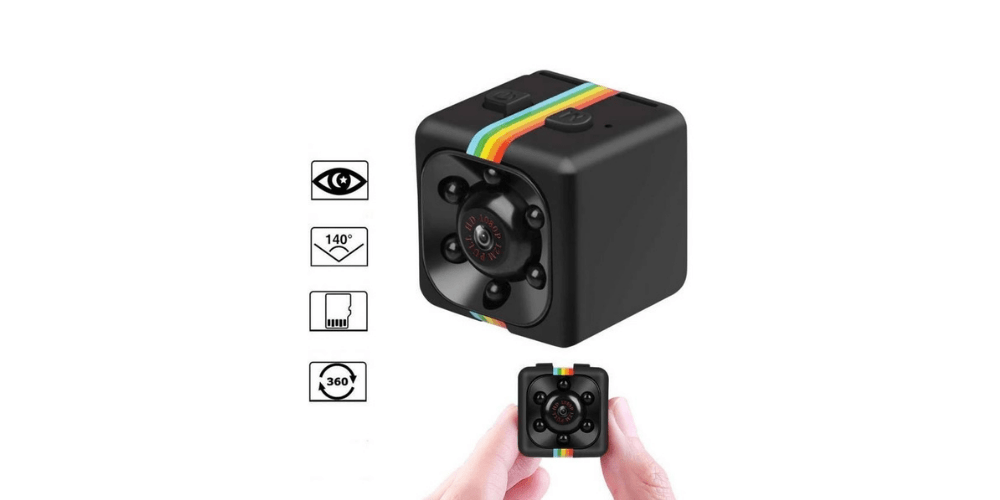
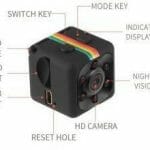
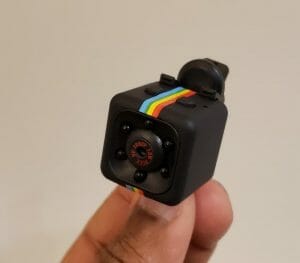
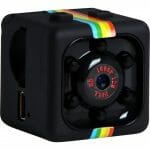
Below will discuss how to install the most common model of mini camera, which is the standard box-shaped recorder. If you have a different model you can still follow along as most models do have similarities to this one.
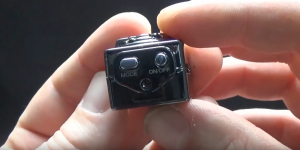
After choosing the most suitable place to use a camera, you need to press a button that may look like an on button or switch. The camera will then start recording videos or taking pictures.
To use a camera very few items are required. Most of these items usually come along with a mini camera. People do not need to purchase any additional items. The essentials are as follows.
- Mini camera
- Micro USB cable
- App for Mini Camera
- SD memory card
- A covered place to avoid rain
- Power outlet
When the user has everything necessary, he/she can start straightforwardly using the mini camera. No specialized or advanced knowledge is needed to use this type of implementation.
Before we proceed, you may want to check the best mini camera in the market nowadays!
Step by step instructions
To perform the following procedure, these steps need to be followed:
- Install the App for Android or iOS
- Check the operation of the camera
- Set the date and time
- Insert SD memory card
- Provide a power outlet
- Test the installed camera
1. Install the App for Android or iOS
 A mini camera can be used with a smartphone. The application we get depends on whether we have an Android or iOS smartphone. Here we recommend some useful apps for a mini wireless camera. (1)
- Mini WiFi Cam
- CamHi
- CamHipro
- YCC365 Plus
These applications can provide different features, and you should choose the most suitable one depending on your needs. An example of this is the Mini Wifi Cam app. This application can offer a transmission of up to 50 meters.
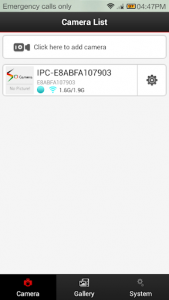
Once the app has been downloaded, you must click on the add camera section. The procedure only requires the user to choose the mini camera within this menu. Once the camera has been added, the desired settings such as sound, image resolution, brightness level, among others, must be incorporated. The user must ensure that the camera is turned on to perform this step.
2. Make sure the camera is working well
 The next step is to make sure that the camera is sufficiently charged for longer operation.
Some options can be supplemented with a power outlet for continuous and unlimited operation. It is best suited for those who want to record video 24 hours a day, seven days a week.
A high resolution always takes up more storage space than a low resolution. Loop recording is the function that allows you to record new videos over the entire memory already used and can be helpful when you have less space available.
3. Set the date and time
 Most mini cameras have the versatility to add the date and time to each video and photo recording. To do this, you must connect the device to a computer via a USB cable. Once inside this device, a simple text file with the name “TIMERSET.txt” must be created. (2)
This file can be found inside the device’s memory card in the root directory. Within the contents of this file, we usually see the following: “YYYYMMDDHHMMSS” “Y.” When the user does not wish to see the date and time stamp on each video, they should change the “Y” to an “N.” or whichever setting is present in your model.
Once this file has been successfully created, the camera should be disconnected from the computer and used regularly. By incorporating this, the user will notice the date and time at the bottom of each video or photo.
4. Insert SD memory card
 An SD memory card is always necessary to expand photo and video storage capacity. The internal memory of each mini camera is usually somewhat limited compared to each user’s claims.
To overcome memory limitations, you should install an SD memory card. Today’s models include some slots to supplement the device with a micro SD card.
5. Having a power outlet
 Getting a power outlet connector is an excellent way to obtain continuous functionality without having to replace memory. Consider having a power outlet nearby or a device such as a laptop. It may increase the difficulty of installing the mini camera in a suitable location but it will improve the recording time.
Users should consider that using a mini camera wirelessly provides a specific time limit depending on each battery’s capacity. To connect the mini camera to a power outlet, a micro USB cable, among other items, is required.
6. Testing the installed camera
 The camera should be put into operation to record some photos and videos. Then remove the Micro SD memory card inside.
The files obtained with the mini camera should be checked. The goal is to have videos and photos positioned correctly to capture specific situations or people.
Once this is checked, the camera can be reinstalled. The appropriate location for the camera installation can be changed at any time.
Conclusion
Did you enjoy this tutorial? Using a mini camera can be very simple. It is an essential tool for people who want to take great photos and videos without being noticed by others.
If you have any questions, you can leave a comment below. In just a few steps, you will be able to use your mini camera to get a great variety of videos and photos.
And if you are in for a DIY project, check this guide on how to make a mini camera! Until next time!
References
(1) Android or iOS – https://smallbusiness.chron.com/five-common-operating-systems-28217.html
(2) TIMERSET.txt – https://search.zonealarm.com/?q=timerset%20txt