Quick Navigation
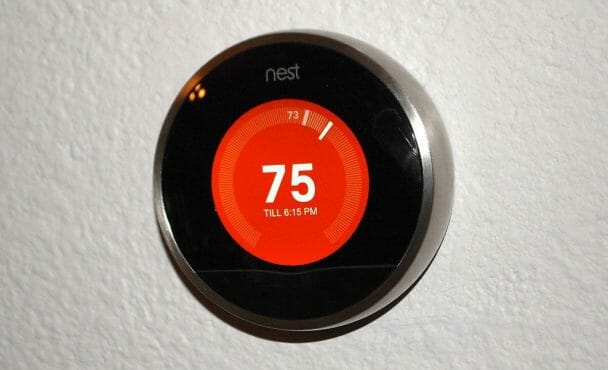
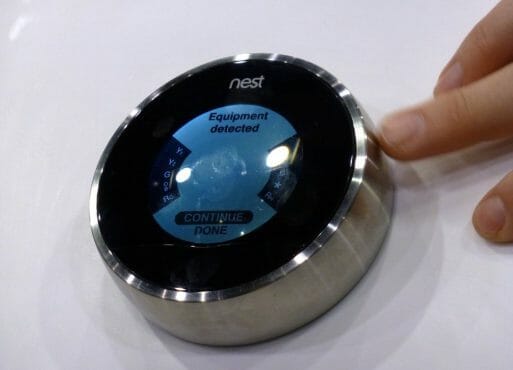
If your Nest Thermostat is a few years old it may lose power suddenly. But there is no need to worry as this is a completely normal issue that occurs after a few years of use and were here to help.
The following guide walks you through fixing a Nest Thermostat with three situations: whether the thermostat shows a red blinking light, a green blinking light, or no light.
Red Blinking Light on Your Nest Thermostat
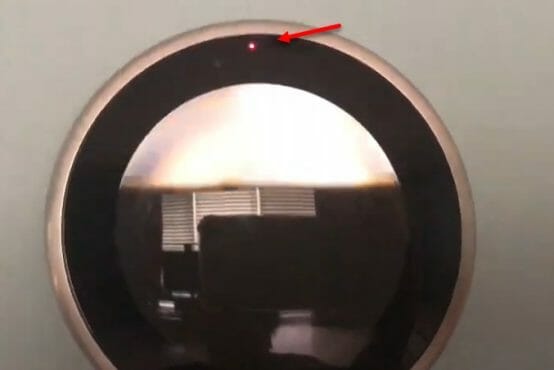
A blinking red light on your Nest Thermostat indicates that the thermostat battery is very low but is being charged. The troubleshooting procedure to follow depends on the conditions under which the light is blinking.
During Installation
If the blinking red light is on during installation, it means that the thermostat will need a few minutes to charge before it turns on. It can, however, take up to an hour for the thermostat to turn on if the battery is extremely low.
You can accelerate the charging process using a separate USB cable. If you pull the display off, you’ll see a USB port. You can use a USB cable and a USB wall charger to charge the Thermostat faster.
If the blinking keeps returning, there may be a wiring issue. Check to see if the connection wire is intact and properly connected to the power source.
After Long Term Use
If the red light starts blinking after you’ve been using the thermostat for a while, there may be an issue with the thermostat wiring or the power supply. If the blinking red light doesn’t go away on its own, check the wiring and see the thermostat power connection is intact. (1)
Green Blinking Light on Your Nest Thermostat
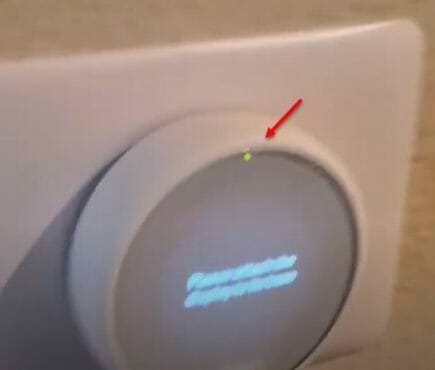
A green blinking light on the top of the thermostat can mean one of three things:
- the thermostat is updating its software
- the thermostat is starting up
- the thermostat is restarting
Ïf the green light keeps blinking for more than 15 minutes, the thermostat may have frozen mid-update. You can try the following if this is the case.
- Pull off the display and reconnect it. Line up the pin connector correctly before you push it. When it’s perfectly and correctly seated, you’ll hear a click.
- If the green light still doesn’t turn on, you can resort to the oldest trick in the book to fix any computerized device. Press the thermostat display for 10 seconds. When you release it, the thermostat will automatically restart and will be restored back to its pre-update state.
No light
If your thermostat isn’t showing any light, it means that the battery cannot supply any power to the thermostat. It may be because the battery is dead. Here’s how to fix the thermostat if this is the case.
Check If the Display is Connected
The display has to be properly connected to the base for the battery to change. If it’s not, the thermostat won’t turn on.
To fix the issue, pull the display off the base and ensure there are no wires keeping the display from connecting to the base. Now, line up the connectors on the base and the display and press the display so that it is set. You’ll hear a click when the display is properly connected to the base.
If you see a blinking red light after this, it means that the thermostat is charging and will turn on in a bit.
Check If the System is Getting Power
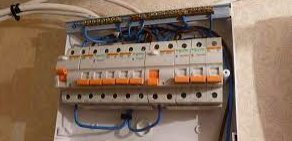
The problem may be the power source. Try turning the breaker off and on again, and see if the thermostat turns on. If you supply power to the thermostat via a fuse box, see if the fuse is still intact and replace it if it’s blown.
If doing this makes the thermostat blink red, it means that it’s charging and will turn on once it has enough charge.
Check the Compatibility
If you just installed the thermostat and it’s not turning on, it may be because of a power incompatibility. Nest Thermostat works with most 24 V systems.
If the thermostat is connected to a lower voltage power source, it won’t charge the battery. On the other hand, if it’s connected to a higher voltage source, it may damage the thermostat.
For more information about power compatibility, check your manual.
Check the Wiring
Before troubleshooting, you should always check your wiring. If a switch is misaligned or a wire is ripped, burnt out, or loosely connected, fix it before turning on the thermostat and checking the power again.
Check the Fuse
If the wires are okay, and you’re still not receiving any power on your thermostat, you might have a fuse problem. Start by removing the thermostat’s cover and checking for a fuse. A fuse is a glass tube with a metal end. Also, check the string running inside the fuse, filament. Replace the fuse if the glass tube or filament is broken.
Before you Start…
Reconnect the Batteries
If a battery powers your thermostat, there is a huge chance your thermostat has no power due to the battery. Start by removing your battery and putting it back to ensure that they are placed properly. (2)
Replace the Batteries
The majority of people forget to replace batteries frequently. For the best performance of your thermostat, you should replace the batteries after every 6 months at least. Therefore, if your thermostat has no power, you can replace the old batteries with new ones to ensure that your thermostat isn’t off because of a non-functional battery.
Contact a Profesional

If all these DIY techniques aren’t working for you, then it’s time to bring in a professional and highly-trained HVAC expert. Based on the thermostat’s condition, they can either fix your thermostat or replace it.
In general, a blinking red light indicates a low battery, a blinking green light indicates software update or startup, while no light indicates that the thermostat isn’t receiving any power.
You may want to check the learning guide on the Nest thermostat that isn’t working after a power outage. Until our next article!
References
(1) power supply – https://www.sciencedirect.com/topics/engineering/power-supply
(2) battery – https://www.britannica.com/technology/battery-electronics