Quick Navigation
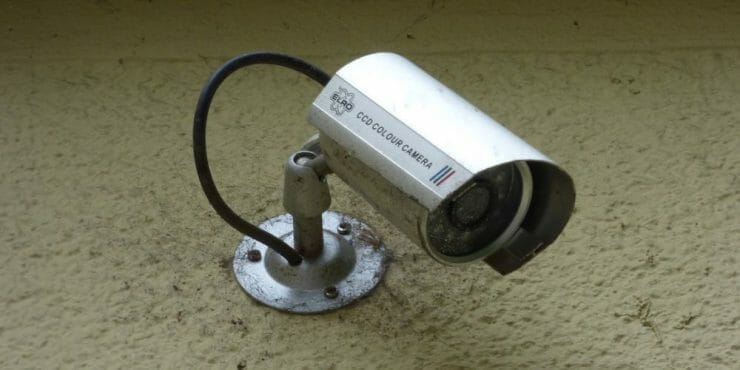
Running security camera cables through walls can be tricky. But it’s easier with a few tools and the right know-how.
In this guide, we will walk you through the process of running security camera wires through walls. We have divided the process into several easy-to-follow steps to help you do everything in order and neatly run security camera wires through your walls.
Equipment You Will Need
You will need the following things to follow the process.
- Painter’s tape
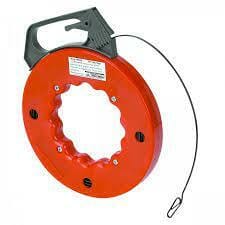
- Fish tape
- A power drill or a hammer drill
- Drive bits, spade bits, and masonry drill bits
You will also need wires such as power cables and Ethernet cables. If your Ethernet cables do not have RJ45 clips attached, you will need some RJ45 clips and an RJ45 crimper. Make sure to measure your wire and leave allowance for a few meters when you cut the wires.
Here are the steps you need to follow in order to run security camera cables through walls:
- Decide where you want to place the cameras. Make sure you can also run wires through there.
- Mark where you need your wires to pass through and use a drilling machine to make holes.
- Run the wire using fish tape.
- Install your camera and set it up.
Where are you Planning to Install the Cameras?
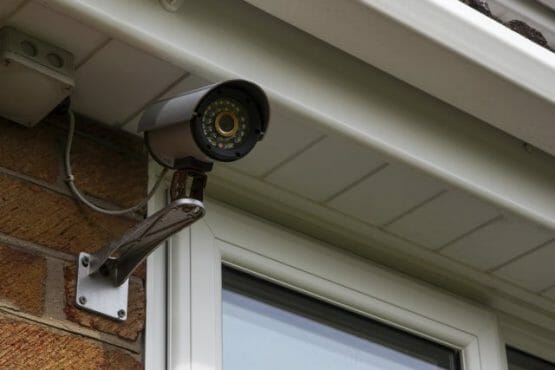
The first step is to figure out where you will be placing the cameras. In this step, you need to figure out the arrangement of cameras such that they cover the whole area without leaving any blind spots. While at the same time, these spots should be placed in such a way that it is easy to wire the cameras. For example, it might seem like a good idea to place a camera in the corner, but it may be difficult to route the wires to your DVR if you do this. Instead, if you place the camera on the ceiling of your porch, you could simply run the wires through the attic.
Before you move to the next step, make sure you have enough wire. And again, measure the length of the wires you will need based on these locations and then cut your wires. Leave allowance for a few meters.
Get Ready to Install
You will need to drill through the walls before you install the wires. Check out all the walls the wires need to pass through. To drill in wood, aluminum walls, and drywall, you will need a power drill with drill bits. However, to drill in concrete or brick walls, you will need a hammer drill and masonry drill bits.
Before you drill, mark all the spots where you will drill. Use a pencil and mark the places the cables will go through. If the camera came with mounting equipment, it might help you mark the locations you need to drill. Once you have marked the locations, go ahead and drill.
Run the Cables to Each Marked Location
Now it’s time to actually run the cable. Remember each hole that each cable will go through. All the wires converge at the DVR location, so make the DVR hole larger.
You can run the cable through the walls using fish tape, although you may need the help of a friend with this step. Feed the fish tape through the camera end of the cable hole and extend it till it reaches some other hole or the DVR hole. At that end, you or your friend will tape the cable to the fish tape. Next, you just pull the fish tape back and the cable with it. Once the cable reaches your end, it will have run through the wall. If you are not able to reach the DVR hole from the camera hole directly, you will have to repeat this process for the same wire at different locations.
Do this for all the wires, and you’re good to go.
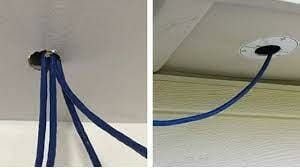
Route All Your Cables to the DVR Box
It would be a good idea to crimp your RJ45 connectors during this step and not before. This is because having RJ45 connectors attached to the end of your Ethernet cables may make it quite hard to fish the wire as RJ45 connectors tend to hook to places easily. You might even damage the RJ45 connectors during the process of fishing the wire and would have to crimp the connectors again. (1)
Once you’re done with fishing, install the necessary connectors to your cables and rout them to your DVR. You will have a larger hole drilled at the DVR location to fit all the cables. A larger hole will also help the fishing process.
Install the Cameras
Now you’re done with the difficult and tiring part of the process. Now you just have to install the cameras, and you will be done.
- Mount the cameras using the mounting equipment. Use screws to place the camera at the location you drilled holes for it. If you’re screwing in a concrete wall, you will need to place anchors before you screw the screws. Different cameras are mounted in different ways. Follow the instructions in the included manual.
- Cover the cables with electrical tape ensuring they will not be unplugged accidentally or get damaged due to rain or dust. (2)
- Once the cameras are in place, you can plug in everything and start the system.
FAQs
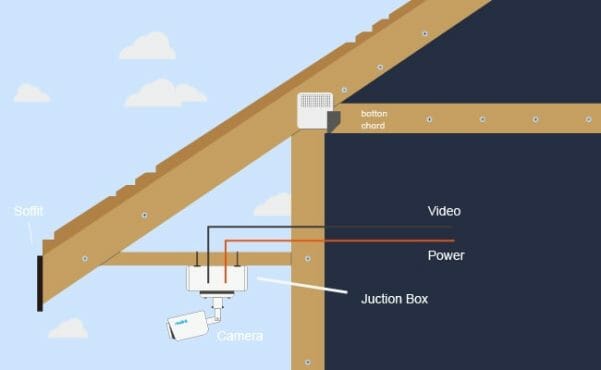
How Do I Mount a Security Camera on a Fascia
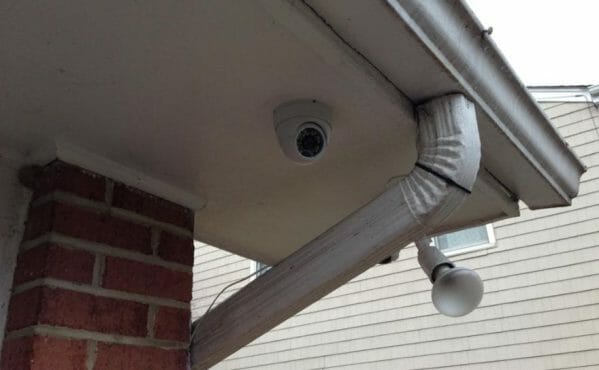
Figure Out the Location
The first thing to do is to figure out where exactly you should place your camera. Make sure you choose a location you can easily run wires to.
Get a Good Ladder
The higher you place the camera, the more area it will cover and less likely it would be to get destroyed by intruders.
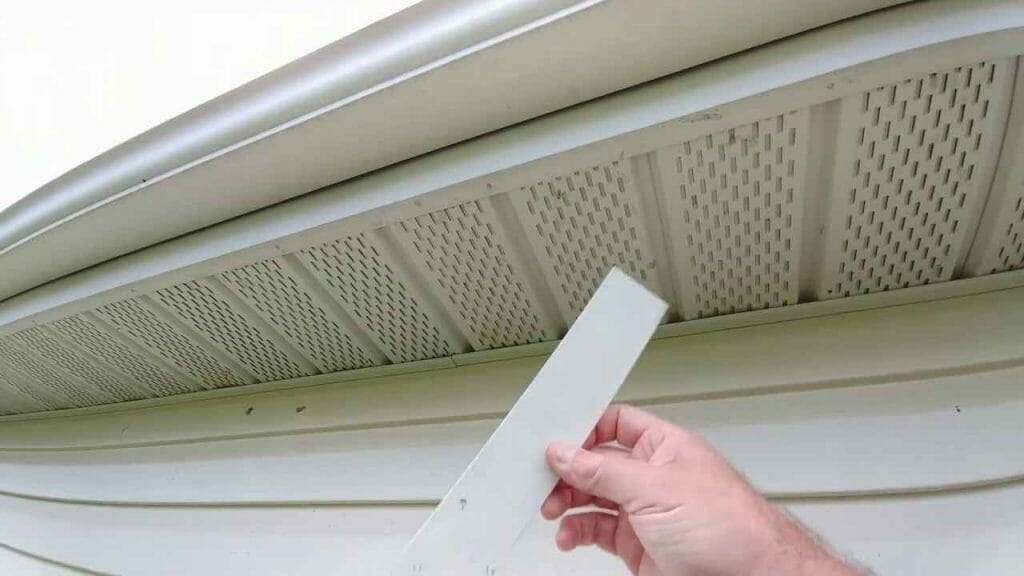
Remove the Soffit
The ability to remove the soffit makes it much easier to run wires through the fascia.
Mark and Drill
Use a pencil to mark the places you will drill and then drill holes for screws and the cables to go in.
Run Wires
Depending on your camera, you may need to run multiple wires from the camera to the DVR. Use Fish tape to run the wires.
Install the Camera
Once you have run the wires, connect and mount the camera, and your camera is ready to go.
How to Install a Security Camera on the Stucco
In order to install a security camera on stucco, you need to follow the same steps as you would in general with the exception of two steps.
- Decide where you’re going to place the cameras.
- Use a pencil to mark where the holes should be. You need to use a masonry drill bit to drill the holes.
- Next, use the fish tape to run the cables.
- Finally, screw in the camera, first put anchors in the holes and then screw in the screws.
- And you’re ready to set up your camera.
How Do I Mount a Security Camera on an Aluminum Soffit
It is much easier to install a camera on a soffit than it is in other places. Here’s what you need to do.
- First, figure out where you’re going to place the camera. It should be somewhere you can easily run wires.
- Remove the soffit if you can. If you can’t, use a drill to make holes for the wires. You will also have to drill holes where you’re going to place the DVR.
- Use fishing tape to run the wire from the soffit to the DVR. If you can remove the soffit, it would make this step much easier.
- Once you have run the cables, screw in the camera and, plug everything in and turn it on.
Running cables through the wall may seem like a difficult task but when you plan the placement of the camera carefully and mark where the wire should go through, with the help of fish tape you can easily run the wires and install the camera.
References
(1) RJ45 connectors – https://www.pcmag.com/encyclopedia/term/rj-45
(2) electrical tape – https://www.bobvila.com/articles/best-electrical-tape/