Quick Navigation
A while back, I received a call from a client after a robbery asking me if I could help him access footage from the camera, as he was unable to. We ended up finding out that he hadn’t had power going to the camera for months because of faulty wiring.
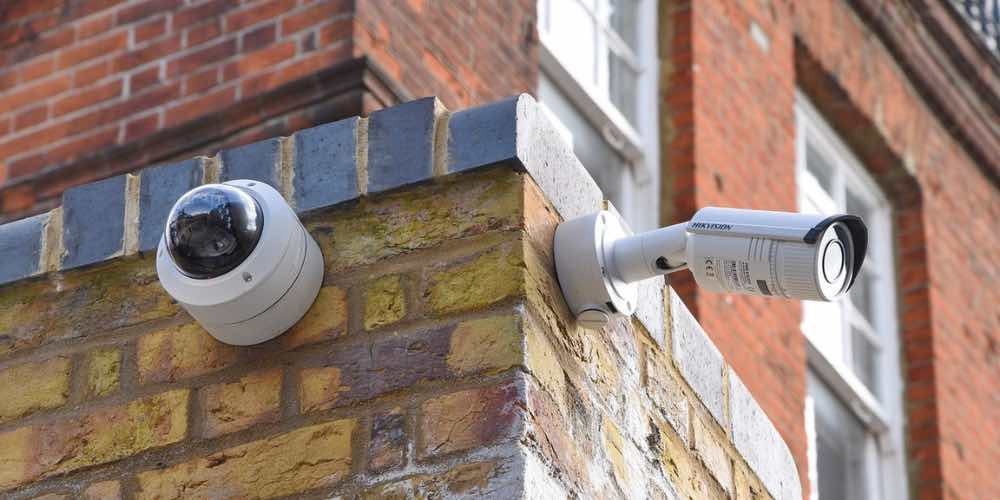
While setting up a security camera, ensure that your camera is powered with a reliable power supply. A huge part of installing a security camera revolves around making sure that it is powered around the clock. A security camera has to work 24/7, and powering it continuously is important to ensure protection.
Different types of security cameras require different powering methods, such as wireless or POE. But before we go through the details of powering up your security camera, here’s a guide on how to install security cameras.
Steps to Power a Security Camera
The following are tips and ways through which you can install a power supply for your security camera. For our first method, we will be focusing on POE. (Power over ethernet)
Required Equipment
There are various tools and supplies you’ll need to power a security camera. The tools and suppliers differ based on the type of security camera you are using.
You’ll require one:
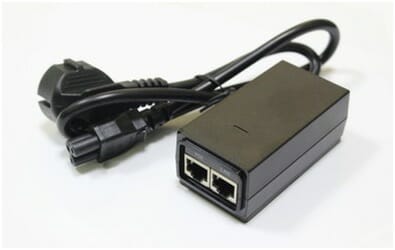
- Power over Ethernet (PoE) injector
- Ethernet or power cable
- Conduits
- Fish tape
- Drill
For wired security cameras, you will be able to power up the security cameras and make the system reliable by trying the steps below:
Find the Correct Camera Location
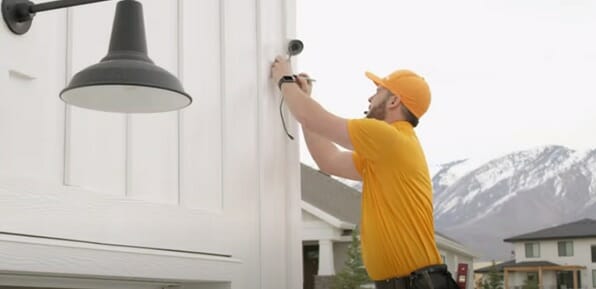
Finding the right place to locate the camera is necessary, as the more accessible the location is, the more easily it can be installed and powered. Identify the security camera location that is not only accessible to you but also not reachable to trespassers or outsiders.
Make sure the security camera has a good view of the area, is protected from weather, and nothing interferes in its way. This will ensure that the power supply given to the camera is not exposed to sunlight or rain.
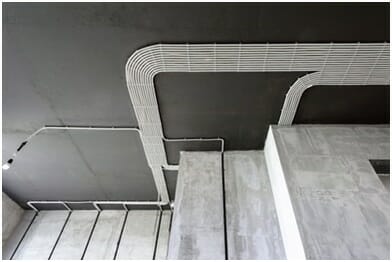
Assess the Wires’ Route
After marking the location, you need to determine and decide the route for the cables and wires to assess the path the security camera data and power will pass. (1)
Remember this rule of thumb; the more distance there is, the difficult the power source installation is and the more vulnerable it is.
So, we suggested that you choose a short route for the cables and wires to power up the security camera, which is also conveniently buried into the walls or ground. Measure the length of the cable required for the camera, which will make the whole installation process easier.
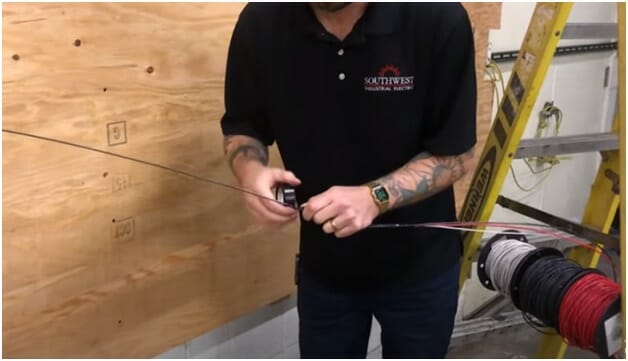
Obtain a Cable
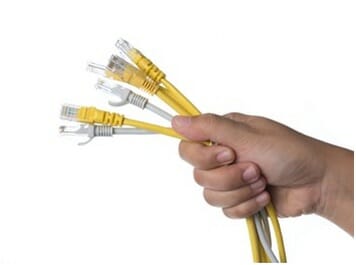
After determining the route, the next step is to get the material ready for the cables. Although there are different ways to power up the security camera, you’ll need a Cat6 or Cat5 cable for a PoE security camera.
Make sure that the cable is long enough to be connected to the nearest hub, plug, or swath end. through this, you will be able to power the security camera with the Ethernet network cable and make the power reliable.
Remember to use good cables that power your security camera uninterruptedly and provide you with data at the same time. Don’t forget to protect the cables by following the next step.
Wire Protection
This is one of the key steps to make the power source reliable and your security camera stable against any damage. Since power is the fundamental element for the security camera, making sure that the cables are protected will make your system robust.
Don’t hesitate in investing in good-quality wires and shields! The difference may not be visible and observed at first hand, but protecting the cables is necessary to make the security camera durable for the long term.
You can use different conduits to protect your cables:
- Polyvinyl chloride (PVC)
- Flexible Metal Conduit
- Electrical Non-Metallic Tubing
- Intermediate Metal Conduit
- Electrical Metallic Tubing
Obtain the conduits best fit as per the needs, considering the weather conditions, wild animals, or kids near your location.
Tip: If you decide not to use conduits, make sure you leave drip loops. It will prevent water from entering the power outlets.
Drill
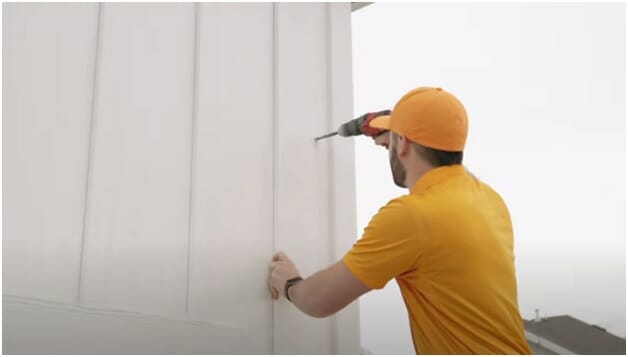
Mark the holes for entering the cables and drill holes in the identified positions. By drilling, you can power the security camera through walls, ceilings, sidings, etc.
Drill where the outlet is determined to be, and analyze the inside to make sure there are no obstructions. Make sure that the drilled hole is wide and suitable enough for the wires and cables to fit.
If you chose a Cat5 or Cat6 Ethernet cable for the security camera, just drill the hole from the camera to the router or network video recorder. In case the length is longer, you can add a PoE injector that adds power to the Ethernet cable.
Remember to drill holes with less effort and slowly to avoid making extra space that affects the longevity of the cable. Also, avoid drilling in an exterior wall to strengthen the resilience against external conditions.
Setup Cable Protection
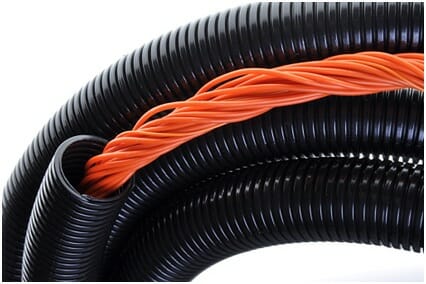
Insert the cables in the conduits that will safeguard them from wild animals, trespassers, children, birds, and extreme weather. This will make sure that the cables work non-stop and for a longer time period.
Conceal the wires inside the conduits either outside in plain sight, or bury them after covering them up with the conduits. If the camera is a few feet away from the power source, bury the power cables in wire ducts.
When using PVC conduits, bury the cables at a minimum of 18 inches and 6 inches deep while using metal conduits. Ensure that the cable protectors’ ends are also covered to protect them from weather conditions, vandalism, and external damage.
Install the Wires
The second last step of powering the security camera is to pull the wires. For this, you might need another person, one will make sure the wires are even, and the other will pull the wires. This will benefit in protecting the wires from damage to the outer material and the cables themselves.
Pull the wires slowly to make sure that the wires are not entangled. Follow the following simple steps:
- Attach the one end of bare wires or the conduit to the fish tape
- Twist the tape to make sure its sticks and is attached correctly
- One person needs to fish the security camera wires from one end to the end.
- Pull the wires by one person standing at the end
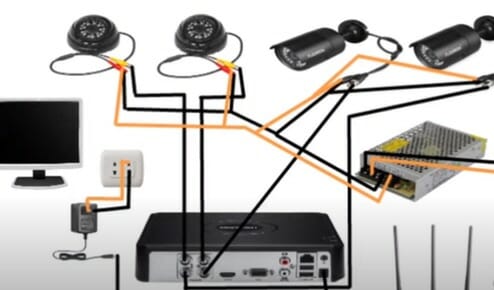
Attach the Cables with Power Supply and Camera
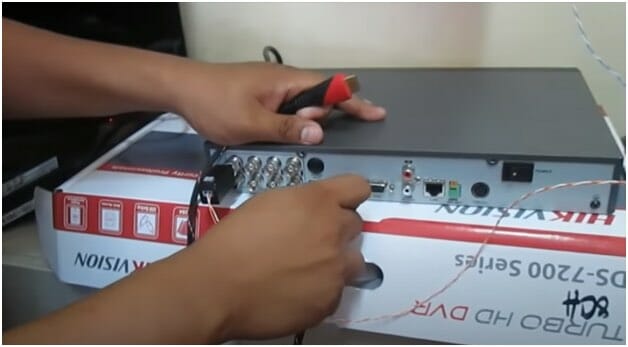
You’re almost done powering the security camera! Once the wires are fished, the last step is to draw them towards the power supply source. Connect the cables with the camera and then the power source.
For this step to be done successfully, don’t forget to follow your security cameras device instructions for more details.
You may want to check the video below;
Best Way to Wire the Security Camera to a Power Source
If you have an analog camera, it’s best to use a version of the 3-wire to transmit data and supply power through the same cable line. The RG59 cable is much more robust than ethernet cables and can be reliably used for longer distances. Here are some tips.
- Make sure the power source has enough power to support the cameras, even at night when night vision turns on.
- Keep the cable length as short as possible. This will make it easier to run wires and minimize power loss due to the resistance of the wire.
- Try to protect the wires from direct sunlight as it may harden the insulation of the wire, causing it to break easily and exposing the core to the elements.
- Use cable concealers to hide the wires.
The best way to wire a security camera to a power source is to use a PoE-enabled camera and a PoE switch. PoE or power over ethernet is a way to supply power to a camera via an ethernet cable, the same cable through which a camera transfers data. However, ethernet cables have a limited length. (2)
References
(1) route for the cables – https://www.sciencedirect.com/topics/engineering/cable-route
(2) transfers data – https://www.computerhope.com/jargon/d/datatran.htm