Quick Navigation
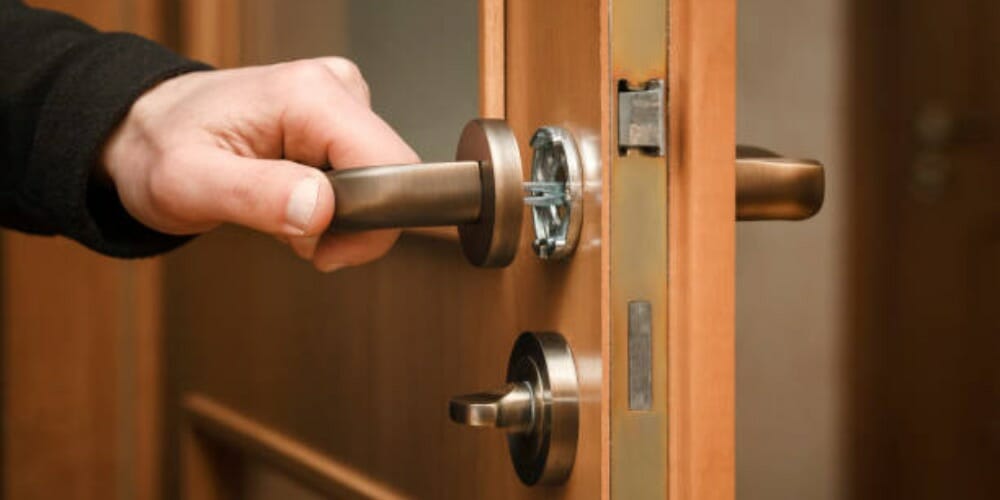
Whether you use an old door or a new door, installing a new lock requires some effort and time. It is not an easy task. You might have to deal with broken door locks or door handles every so often depending on whether you live in a high corrosion area or just use your lock a lot. Either way, you might have to carry out the new lockset installation yourself.
Below we go into more detail with a complete guide on how to install a door lock and handle.
First, remove the old door lock and the handle. Next, measure the distance from the edge of the door to the latch hole’s center. Then buy a new lockset according to the measured length. Install the new lockset. Finally, check the new lockset to make sure it’s sturdy.
Process of Installing a New Lockset
The process of Installing a new lockset can be categorized into four different parts. Below I will explain each part extensively.
Tools Needed
- Screwdriver
- Drill
- Wood Chisel
- Utility Knife
- Tape Measure
- Circular Saw
- Pencil
- Hand Sander
- Set Square
Part 1 – Preparing for the Installation
Step 1 – Take the Necessary Measurements
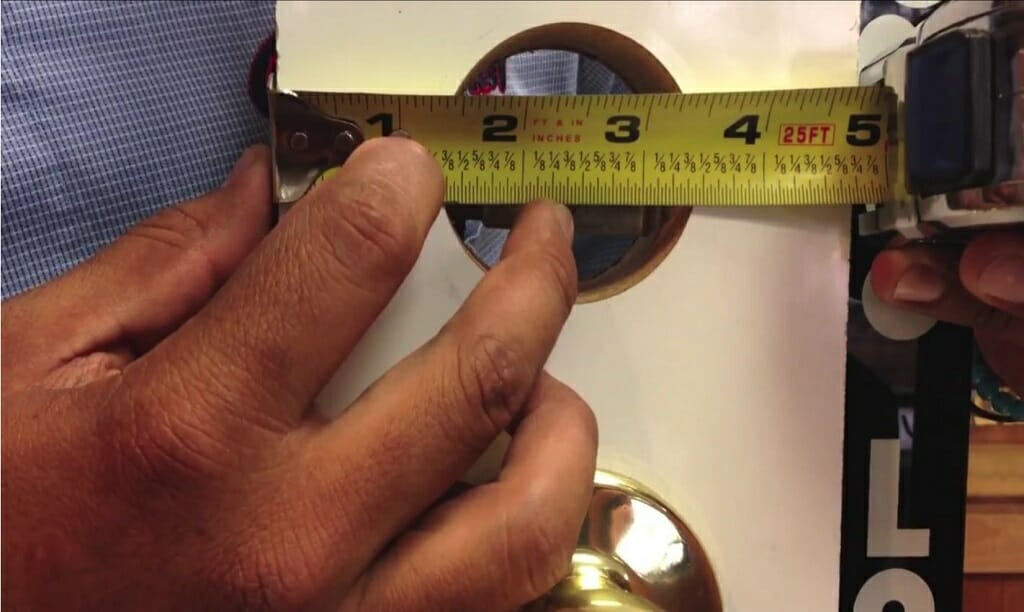
First, remove the old lockset from the door. Now measure the length from the edge of the door to the latch hole’s center. Note it down.
Keep in mind: The measurement should be around 2.375 inches or 2.75 inches.
Step 2 – Buy a New Lockset
Now it is time to buy a new lockset. Go to your local hardware store or order online, we recommend the hardware store since you can often get recommendations from staff. Buy a new lock according to your previous measurement. However, if you are planning to install a new door, there is no need for any measuring at all.
Part 2 – Make the Necessary Adjustments for Your New Door
You might be planning to install a new door. If so, there are a few adjustments you need to complete before installing the new lock for the new door. However, if you wish to keep the old door, you can jump to Part 4.
Step 1 – Measure the Vertical Length
Earlier you measured the horizontal length between the latch hole’s center and the edge of the old door. Now measure the vertical length between those two points. Now mark the exact measurement on the new door.
Step 2 – Position the New Door on Sawhorses
Next, get rid of the old door and position the new door on the sawhorses.
Step 3 – Adjust the Backset Value

Now set the correct backset value on the lockset installation tool (Horizontal length from the edge of the old door to the lockset hole’s center).
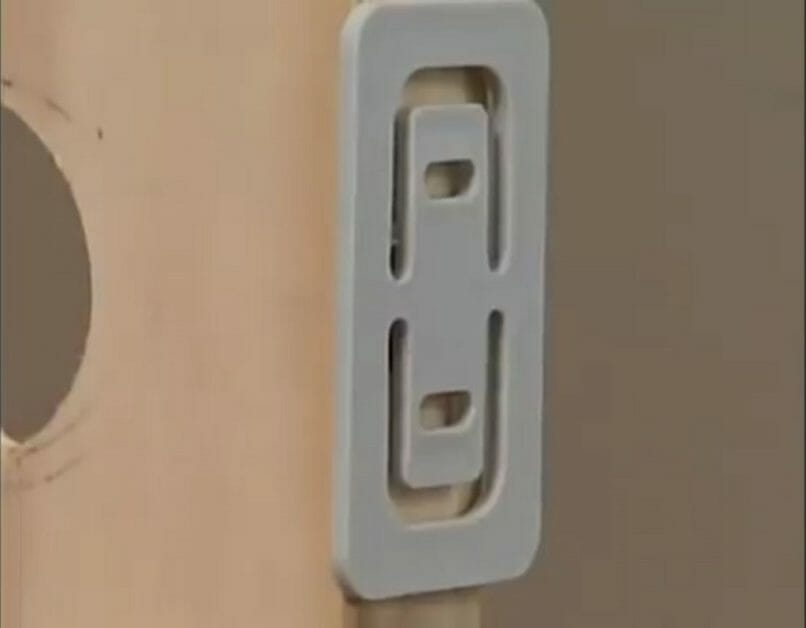
Step 4 – Fix the Lock Set Installation Tool on the Door
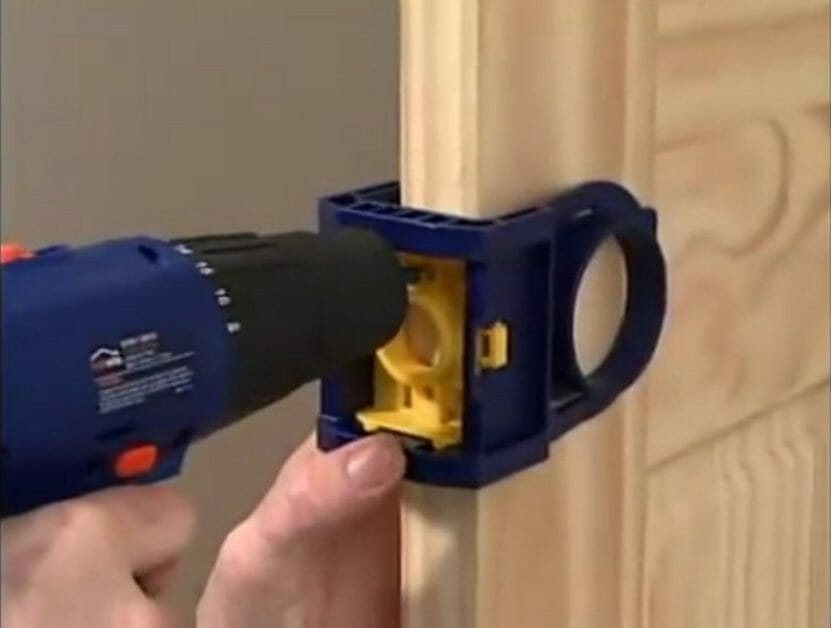
Then, center the locks set installation tool on the latch hole mark. Now, fix the tool on the door using latch plate screws.
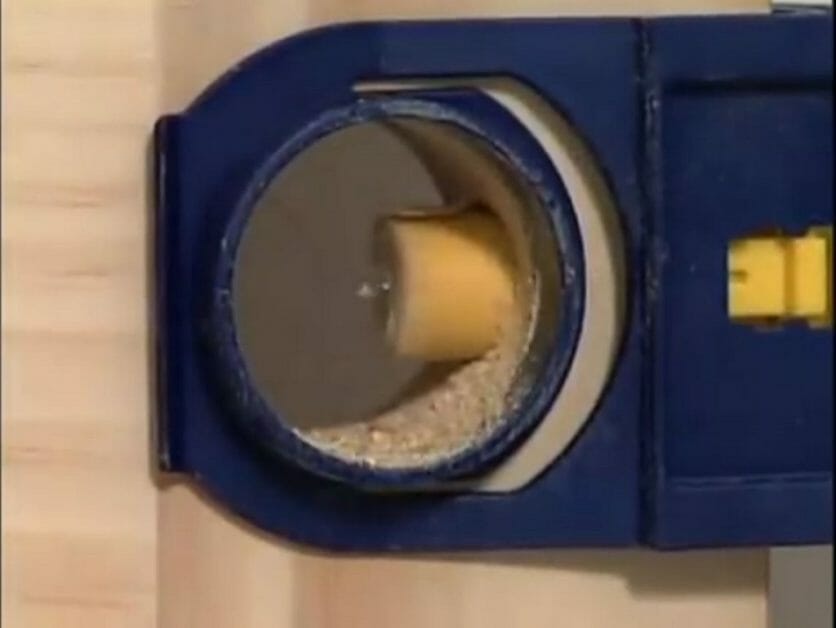
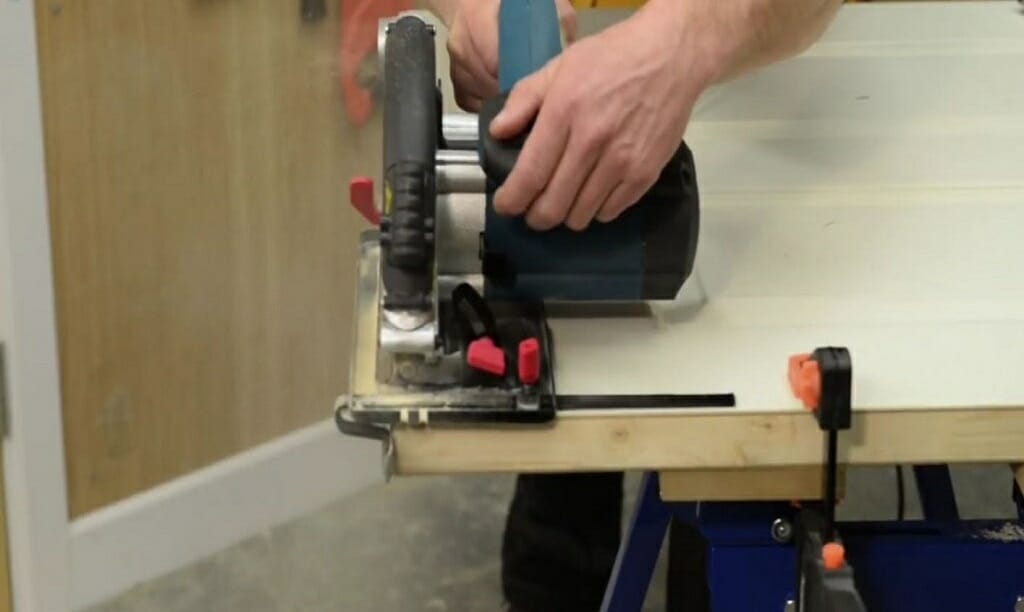
Step 5 – Cut the Lockset Hole on the New Door
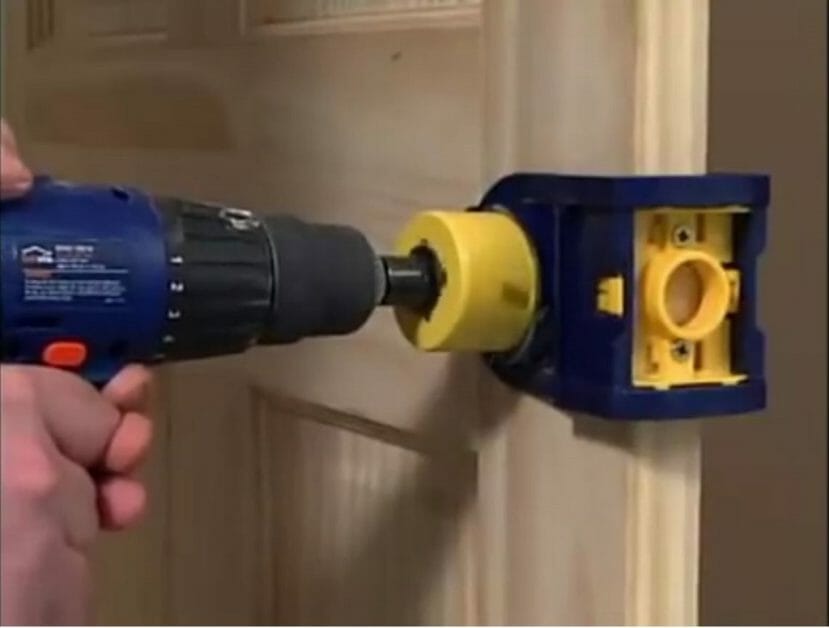
Use a 2.375-inch or 2.75-inch hole saw to drill the lockset hole on the door.
Keep in mind: Remember to cut halfway through the front side and change the side of the door, then cut the other half. It will prevent any splintering.
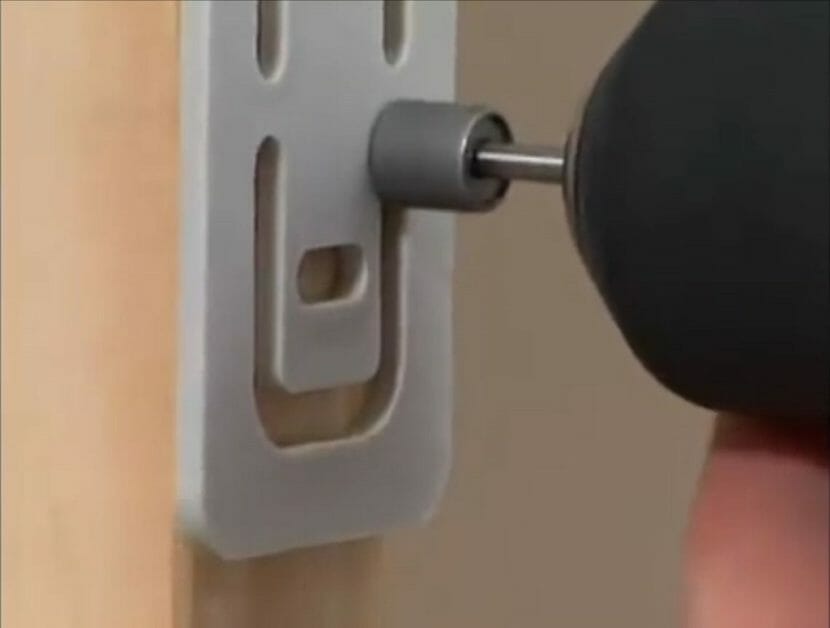
Step 6 – Drill the Edge of the Door
Now it’s time to cut the edge. Use a one-inch hole to drill this hole. Then remove the locks set installation tool. But remember to keep the screws for latch installation.
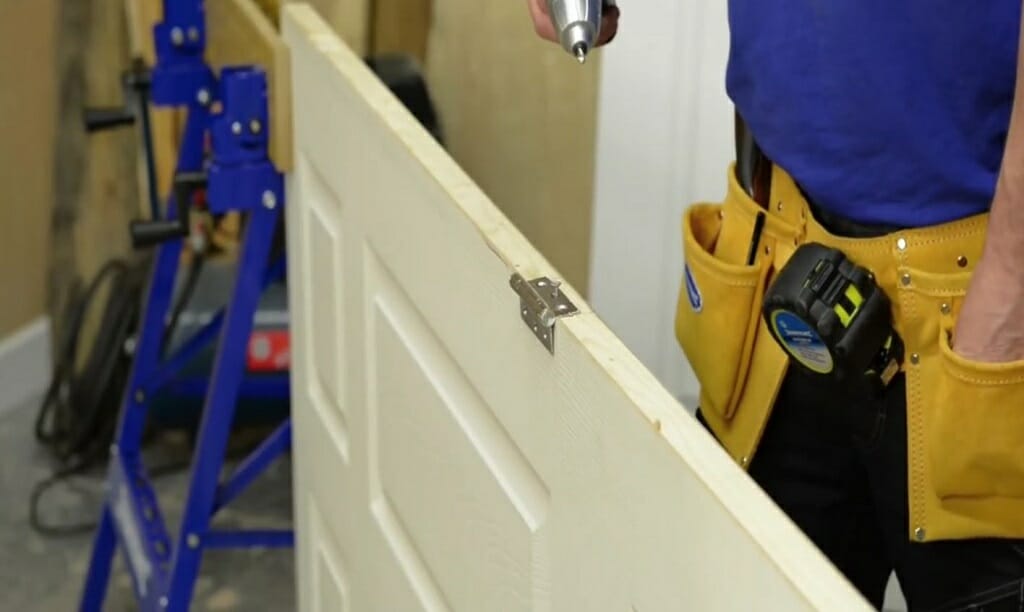
Step 7 – Cut the Mortise Using the Template
Most locksets come with a template to cut the mortise. So, place the template on the edge of the door.
First, use the drill to cut the mortise.
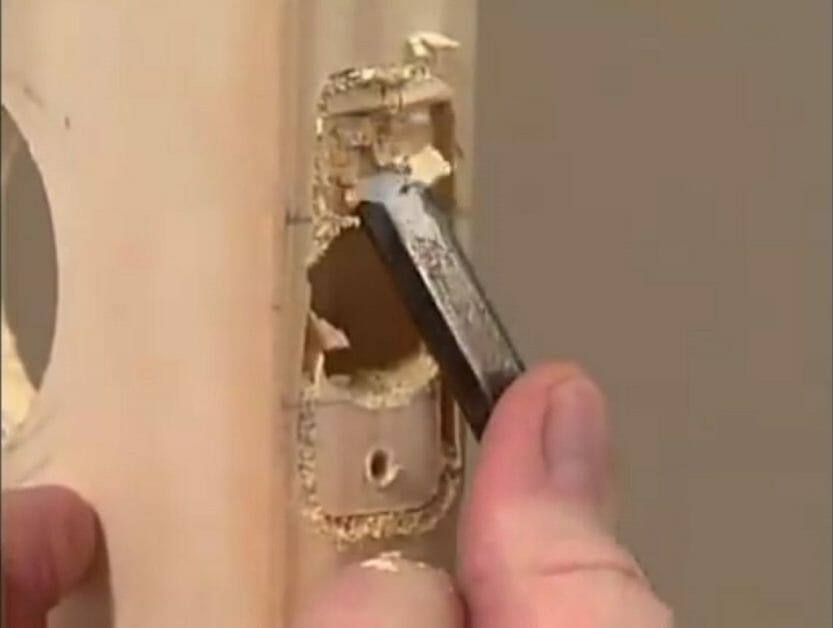
Then remove the template and shape the mortise with a chisel.
Step 8 – Paint the Door
If needed, remember to paint the door. Then wait until it drys. (1)
Part 3 – Install the Door
Step 1 – Check the New Door
Check the height and the width of the old door. Then check the new door for any adjustments.
Step 2 – Use the Hand Sander
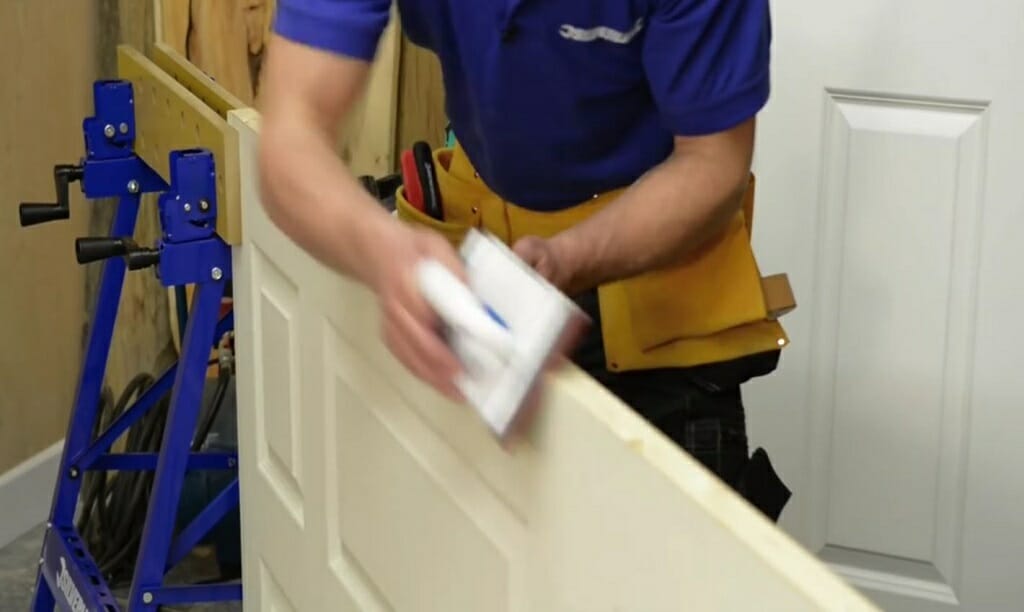
Now, use the hand sander to remove splinters from the door’s edges.
Step 3 – Mark the Hinges
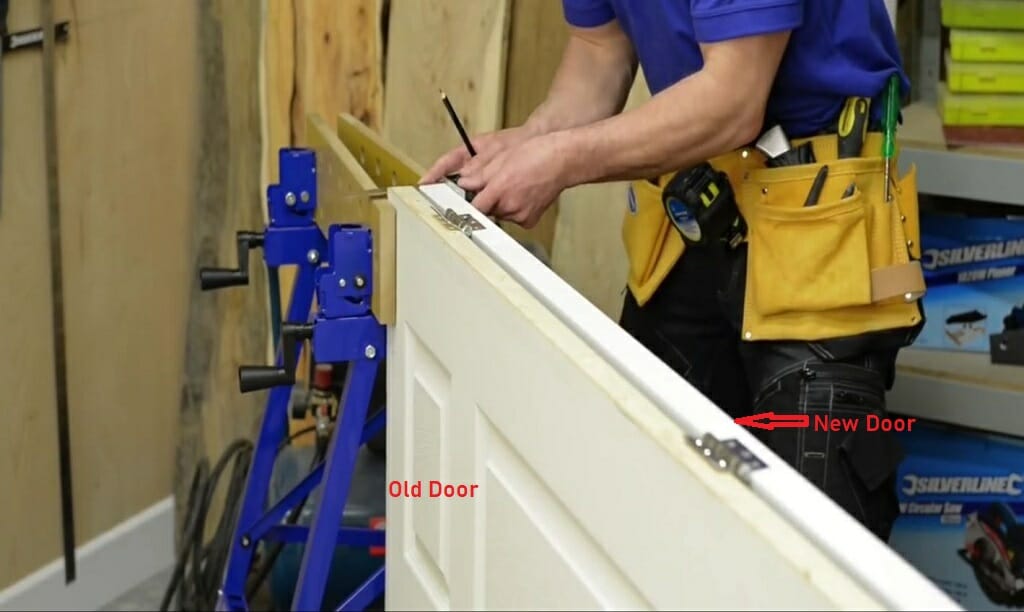
Next, mark the hinges according to the old door. There won’t be any issues because you are using the old door frame. So, mark the hinges using a pencil and a set square.
Step 4 – Adjust the Door for Hinges

Cut off the marked hinges spots using a utility knife and a wood chisel.
Step 5 – Drill the Holes for Hinges
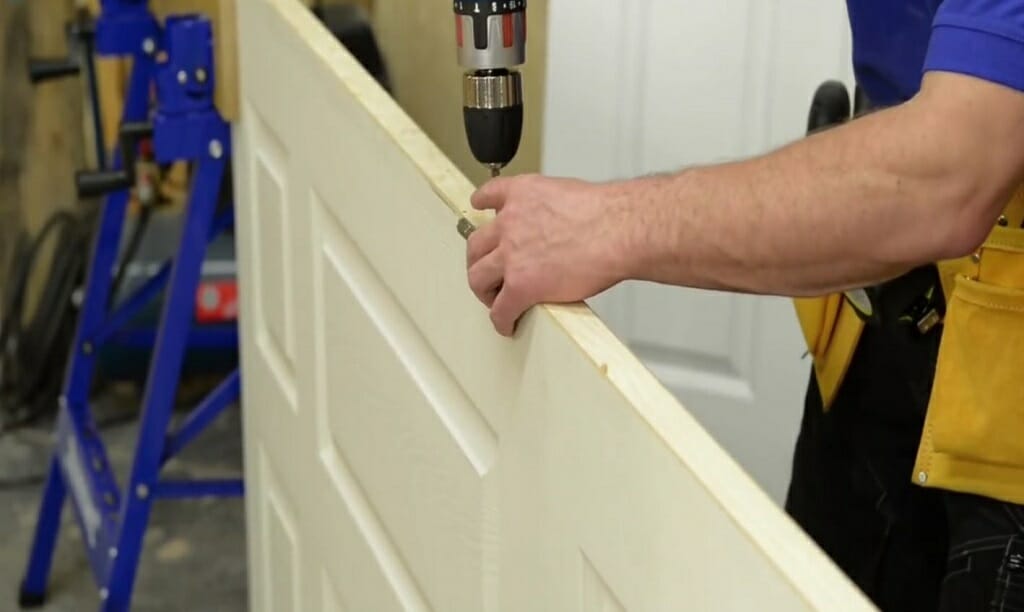
Position the hinges on the door edge and drill the necessary holes for the hinges. You might have to drill for three or four hinges. So, take your time.
Step 6 – Screw on the Hinges
After that, screw the three hinges to the door.
Step 7 – Install the Door
Finally, put the new door on the existing door frame. If you follow the above steps correctly, the new door will fit perfectly with the frame.
Part 4 – Install the Lockset
Step 1 – Install the Strike Plate
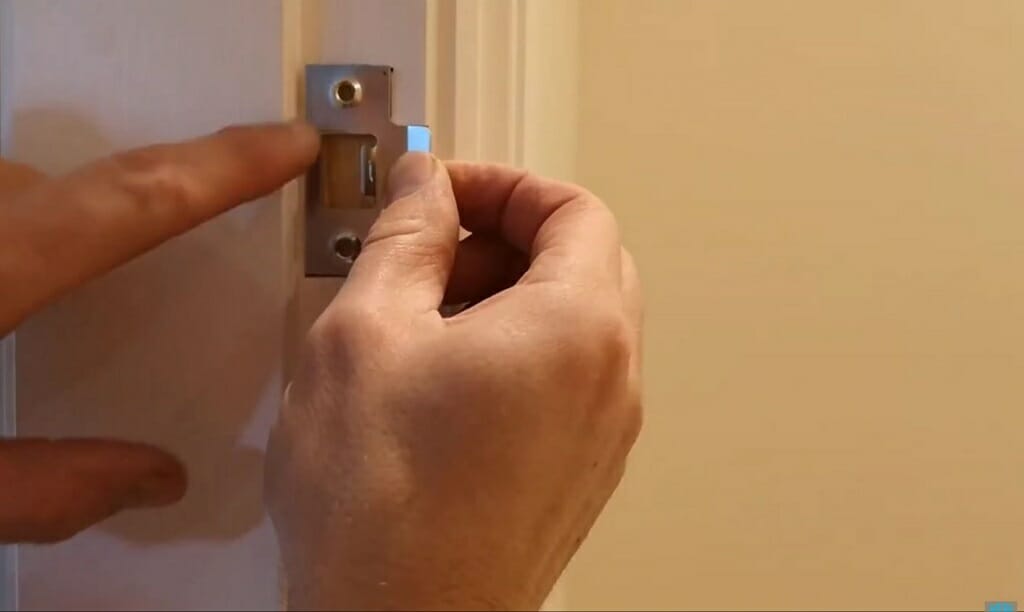
First, install the new strike plate on the door frame. Don’t forget to remove the old strike plate before installing the new one.
Step 2 – Install the Latch
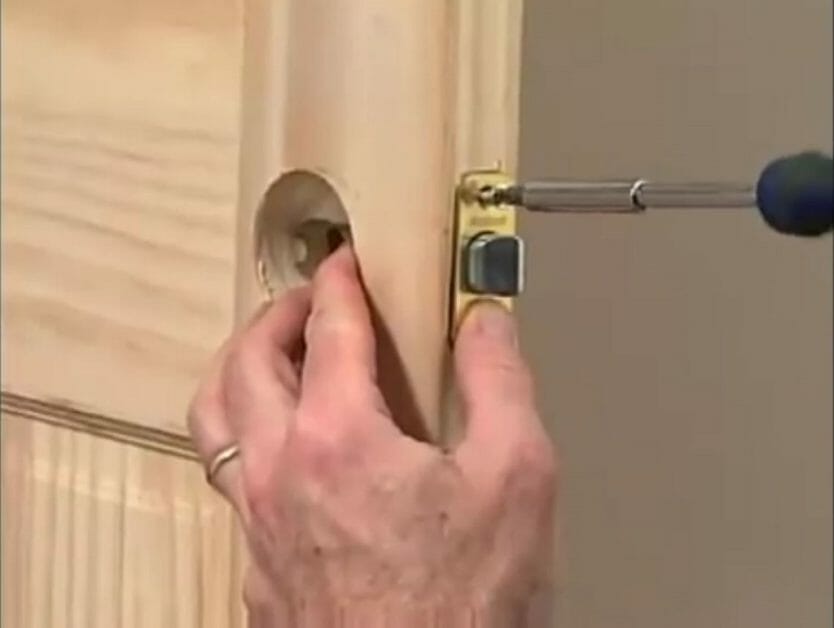
Install the latch on the shaped mortise. Tighten the screw properly.
Tip: If needed, tap the latch using a hammer and a piece of wood.
Step 3 – Set the Door Knobs
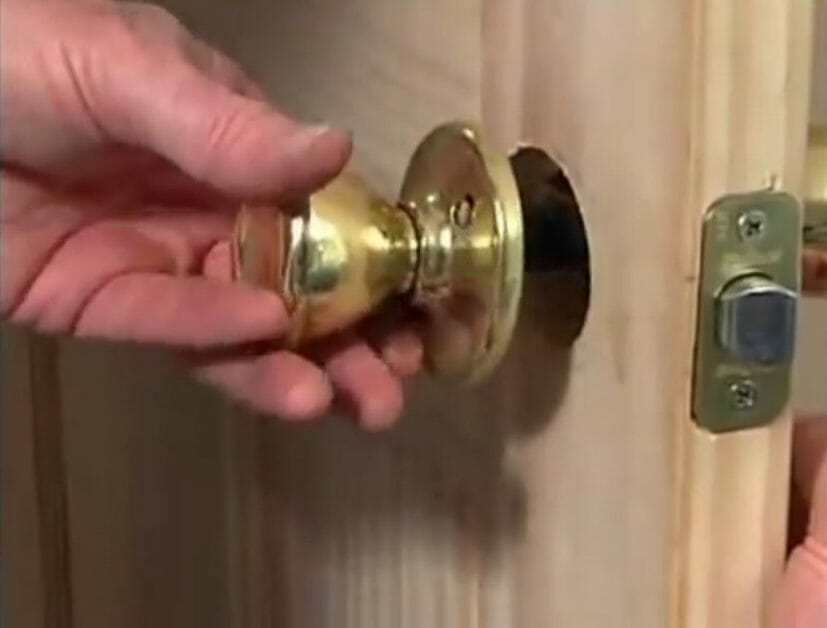
Now insert the outside knob into the latch hole. Align the inside knob with the outside knob. Finally, secure the screws.
Keep in mind: Above process might vary according to the handle type.
Step 4 – Check the Door
Don’t forget to check the door and find out if the newly installed lockset is working or not. Depending on the type of lockset, you might have to make additional adjustments. So, follow the instruction manual.
Wrapping Up
From the above how to install a door lock guide, you now should have the knowledge to execute a new door installation with a new lockset. But, remember, if you plan to use the old door, you only need to follow Part 1 and Part 4. During this process, you might have to use some power tools such as a drill and circular saw. So, remember to wear safety gear all the time. (2)
Take a look at some of our related articles below.
- How to measure storm doors for replacement
- Best door lock installation kit
- Key won’t turn in door lock
References
(1) paint – https://www.wikihow.com/Make-Your-Own-Paint
(2) power tools – https://www.britannica.com/technology/power-tool
Video References
Silverline Tools
Lowe’s
Decor Group Inc
Sanders Lock & Key, Inc.
Mr Mac